 Free Shipping Over $50
  888-432-8363


 Obituary/Programs
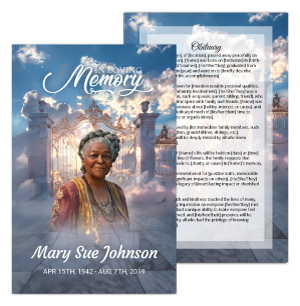 No-Fold Memorial Programs
 4 Page Funeral Programs
 8 Page Memorial Programs
 12 Page Funeral Programs
 16 Page Funeral Programs
 20 Page Funeral Programs
 Tri-Fold Funeral Programs
 Complete Memorial Packages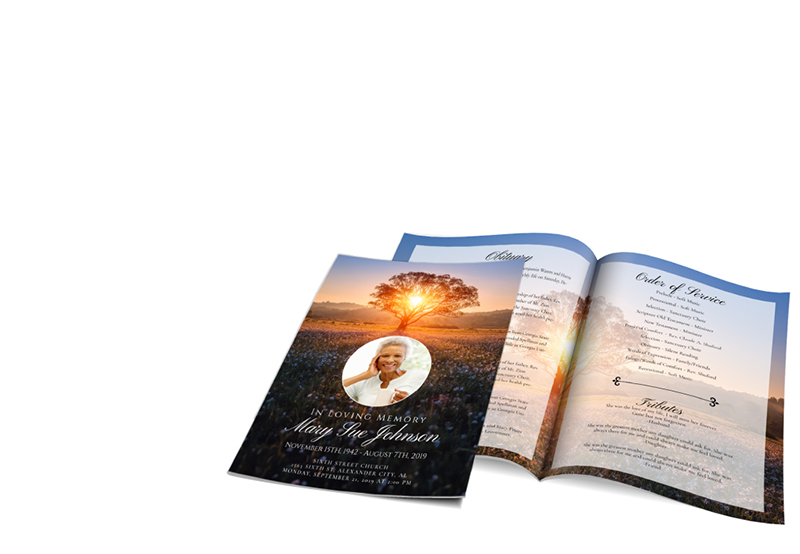
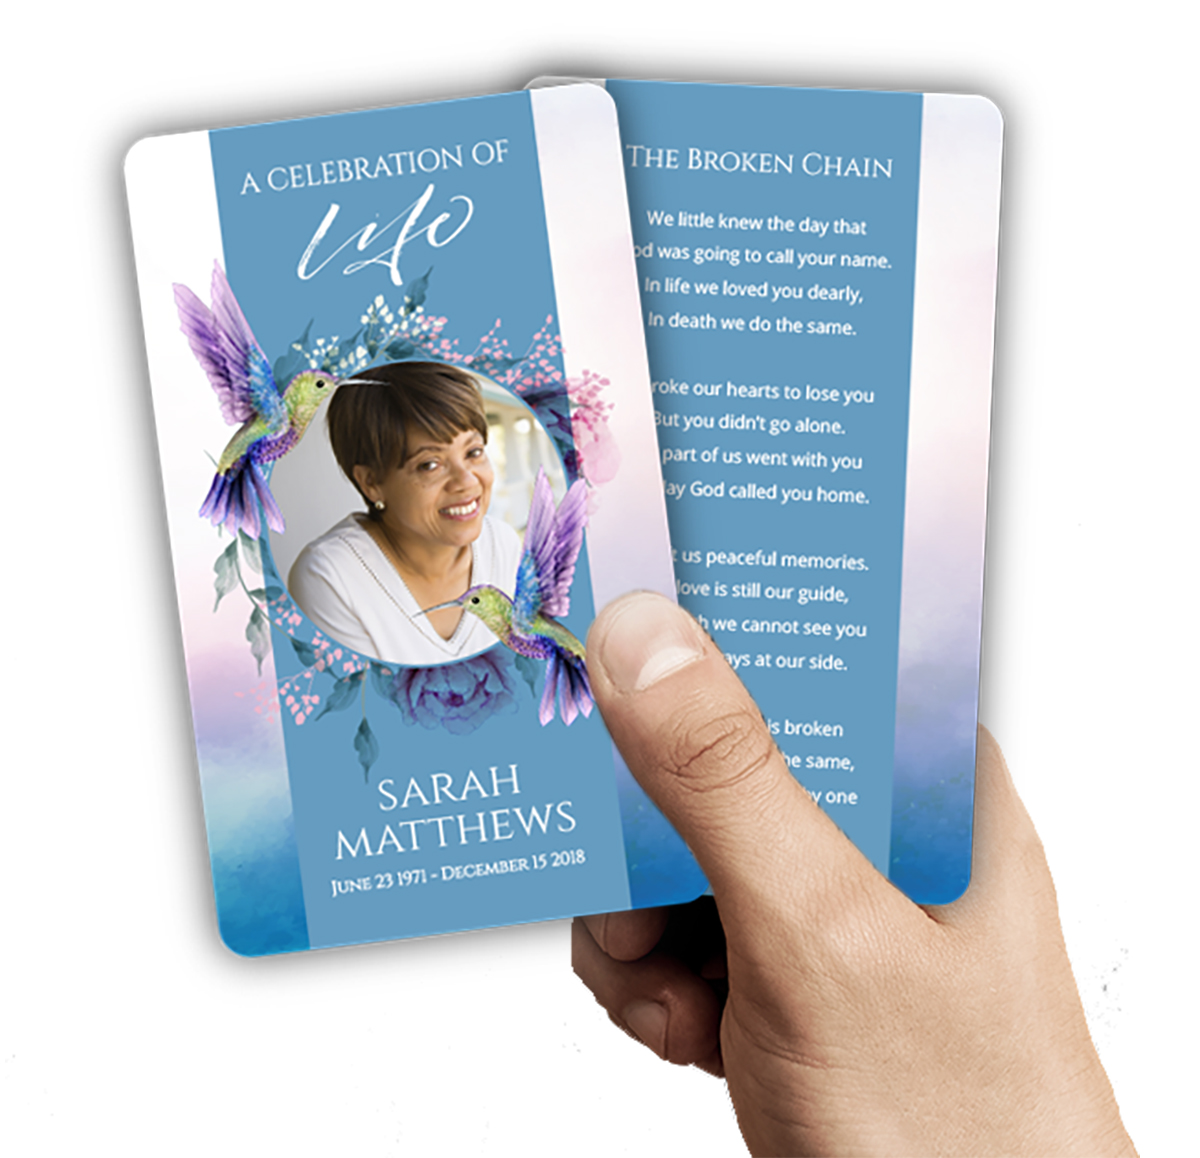 Cards & Bookmarks
 Saint Prayer Cards
 Folded Memorial Cards
 Folded Holy Cards
 Memorial Bookmarks
 Thank You Cards
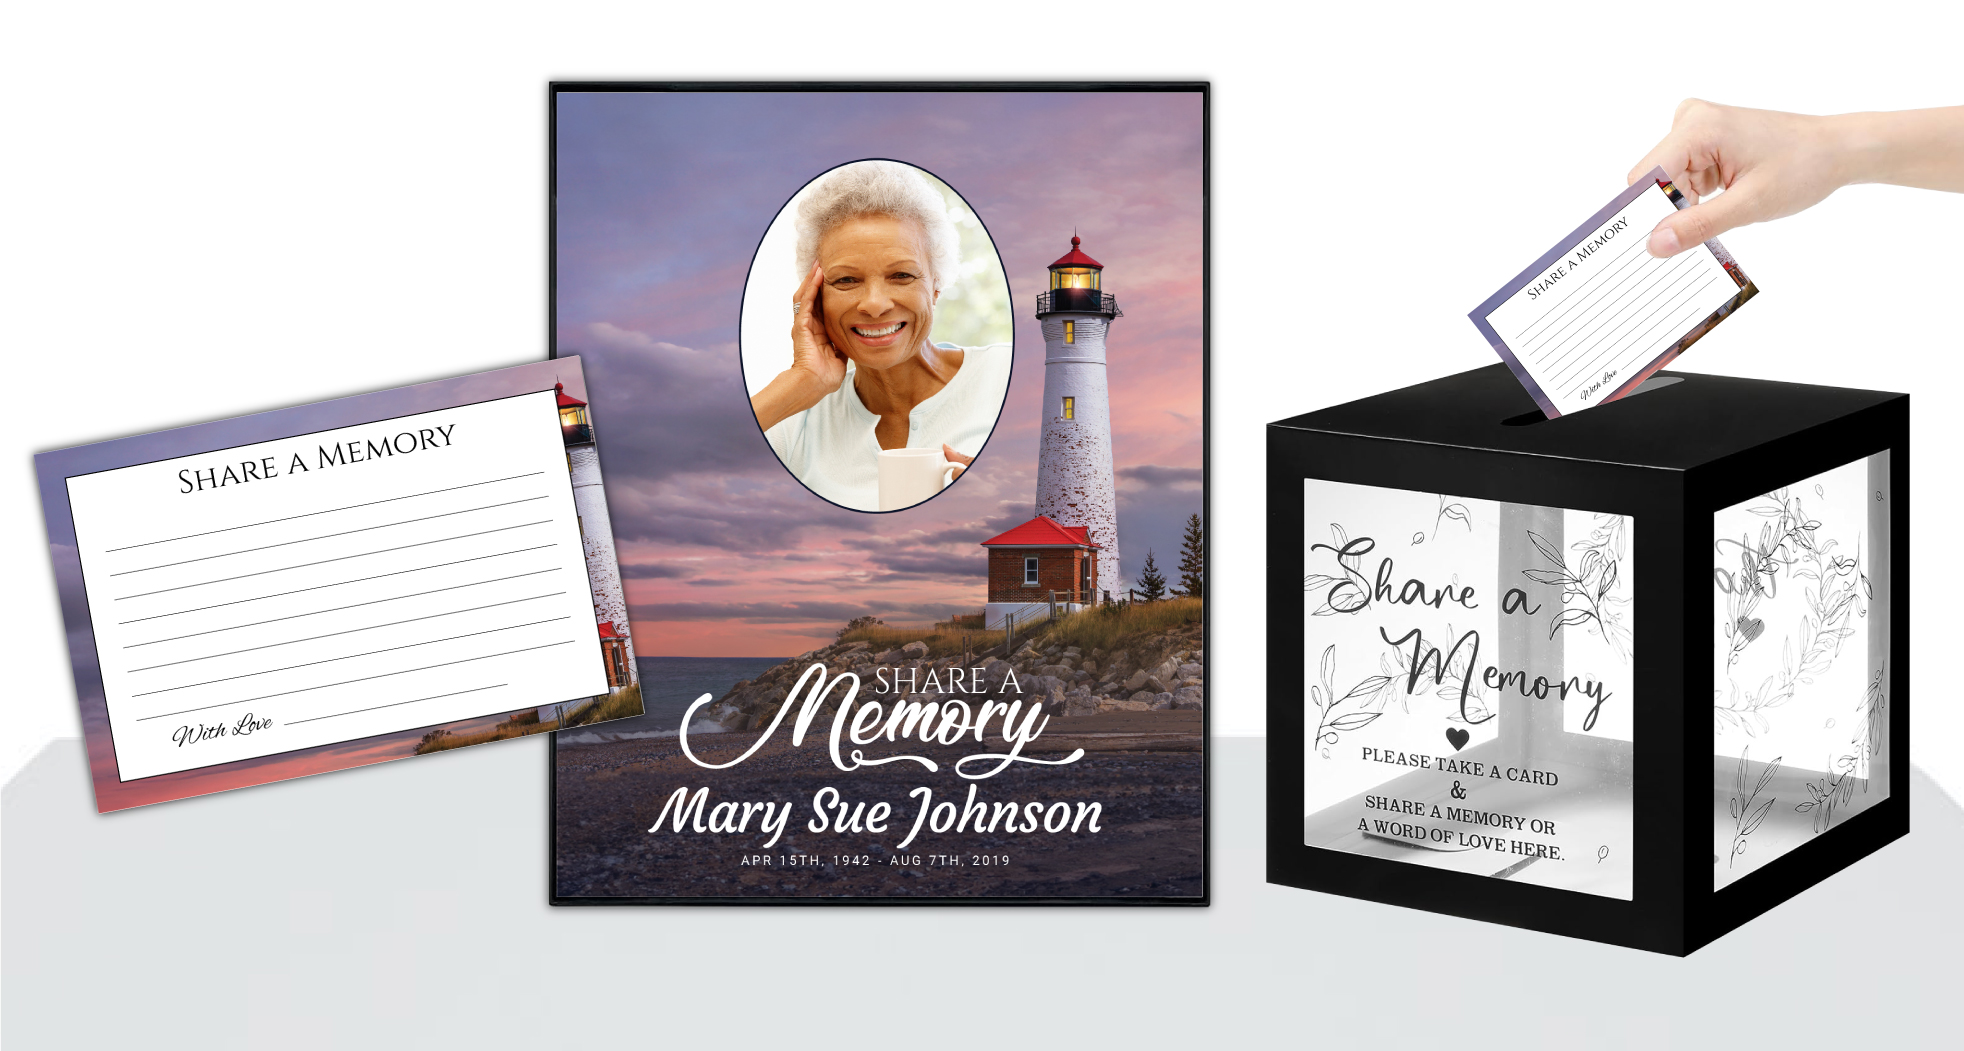 Share-A-Memory Cards
 Memorial Magnets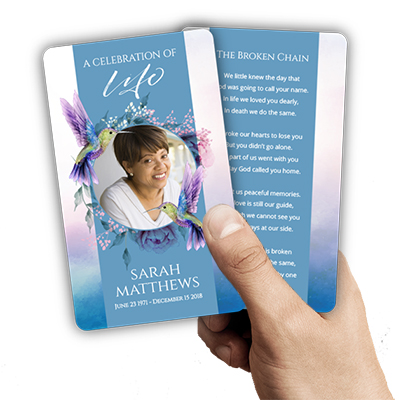
 Memorial Posters
 Guest Books
 Slide Shows
 Memorial Fans
 Death Announcements
 Take Away Keepsakes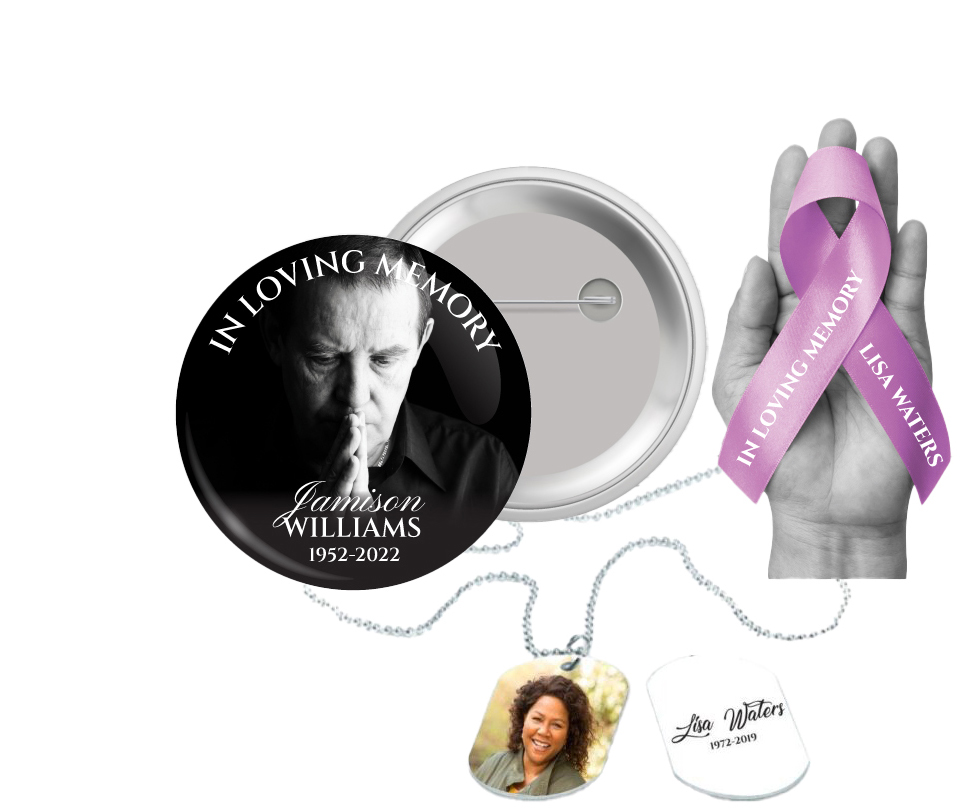
 Church Products
Honoring Memories: Why Quality Matters When You Scan Old Photos for Funeral Programs
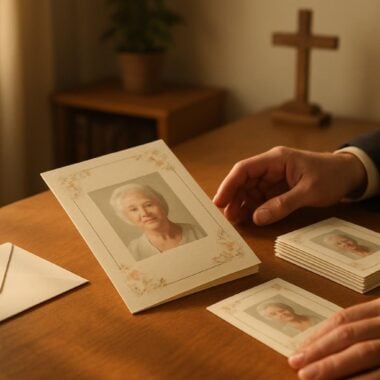
When we lose someone we love, finding ways to honor their memory becomes one of the most meaningful aspects of the grieving process. Old family photographs are often cherished keepsakes, holding memories that connect generations. As you prepare a funeral program—whether it’s a traditional bi-fold, a detailed 8-page booklet, or a celebration of life program—these treasured images become a visual tribute, a way to share your loved one’s story with friends and family.
However, scanning old photos for a funeral program can feel daunting, especially when you want every image to do justice to your loved one’s spirit. Blurry, faded, or pixelated pictures can diminish the impact of your tribute. Many families worry about damaging fragile originals, or about technology getting in the way of heartfelt remembrance. Know that you are not alone in these concerns.
In this article, we’ll gently guide you through the process of scanning old family photos for funeral programs without losing quality. We understand that you may be working through grief, handling urgent timelines, or facing unfamiliar technology. Our approach is both practical and compassionate, offering step-by-step instructions, real-world tips, and answers to common worries.
We’ll cover how to prepare your photos, choose the right scanner or service, set up your scans for the best results, and handle any imperfections that arise. You’ll also find advice on incorporating scanned images into various funeral program formats, from classic bi-fold programs to memorial cards and bookmarks. Throughout, we’ll remind you of the caring resources and support available from the DisciplePress team. Let’s walk this path together, ensuring every memory is preserved with the dignity it deserves.
Preparing Old Family Photos: Gentle Handling and Thoughtful Selection
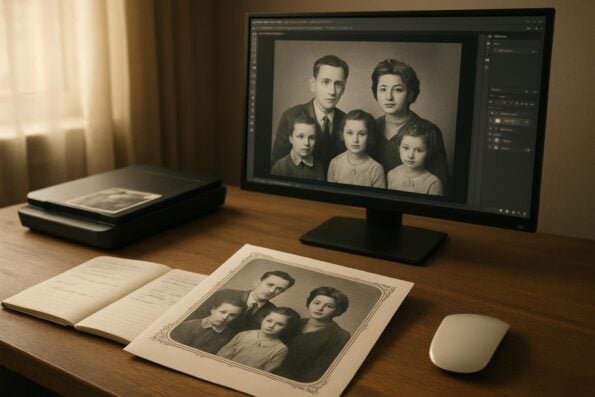
Before you scan old photos for a funeral program, it’s important to approach the process with care—both for the physical photographs and for yourself. Many of these photos may be fragile, with brittle paper or fading edges. Take a few moments to gently sort through albums and boxes, choosing images that best reflect your loved one’s life, milestones, and relationships.
We’re committed to supporting you through this difficult time with meaningful memorial resources. We offer Memorial Bookmarks, Funeral Programs and Prayer Cards to help you create meaningful tributes.
Lay out your chosen photos on a clean, soft surface, such as a cotton towel or acid-free paper. Avoid touching the image surfaces with your fingers; instead, hold them by the edges or wear clean cotton gloves. Dust and fingerprints can affect scan quality, so use a soft, dry brush or a microfiber cloth to gently remove any dirt or particles.
As you select images, consider the story you’d like each program or card to tell. For example, a bi-fold funeral program may feature a dignified portrait, while a memorial bookmark might highlight a joyful family moment. If you’re organizing an 8-page or 12-page booklet, you can include a series of photos that capture different stages of your loved one’s life. Choosing a mix of formal and candid shots often creates a more intimate tribute.
Don’t worry about minor imperfections—creases, small tears, or faded spots can be touched up later, or may even add character to the memory. If you’re unsure which images to use, invite close friends or family members to help with the selection. Their input can spark meaningful conversations and ensure that the final program is a true reflection of your loved one’s legacy. Remember, this is a process of love and remembrance; there is no “perfect” photo, only cherished memories preserved.
Choosing the Right Scanner or Copy Service: Ensuring High-Quality Results
When you’re ready to scan old photos for a funeral program, selecting the right equipment or service makes all the difference. If you have access to a flatbed scanner at home, this is often the best choice for preserving details and preventing further wear on fragile photos. Flatbed scanners gently scan each image without feeding it through rollers, reducing the risk of damage.
If you don’t have a scanner, many local copy shops, office supply stores, or libraries offer scanning services. Before you visit, call ahead to ask about their equipment and whether they can scan at high resolutions (at least 300-600 dpi). Some shops also offer same-day printing or rush orders, which can be helpful if you’re working with DisciplePress to meet a specific turnaround time for your funeral programs or memorial cards.
Be cautious with all-in-one printer/scanner machines—they can be convenient, but some models produce lower-quality scans. If you must use one, select the highest available scan setting and avoid automatically compressing or resizing images. For especially delicate or oversized photos, consider enlisting professional scanning services or asking DisciplePress about custom design services that can help digitize and restore your images.
It’s always a good idea to scan a “test” photo first and review the result on your computer or phone. Look for clarity, accurate color, and sharpness before proceeding with the full set. If you’re unsure about the best scanning option for your needs, don’t hesitate to reach out to the DisciplePress team for guidance—we’re here to help you find the most respectful and effective solution for your cherished photographs.
Setting Up Your Scanner: Optimal Settings for Preserving Detail
To scan old photos for a funeral program without losing quality, setting your scanner’s resolution and color options correctly is essential. For most funeral print projects, such as bi-fold programs, prayer cards, or memorial bookmarks, a resolution of 300 dpi (dots per inch) is the absolute minimum; 600 dpi is even better, especially for small or detailed images. Higher resolutions capture more information, ensuring crisp, clear printed results.
Creating a meaningful tribute for your loved one is an important part of the healing process. We offer Prayer Cards, Memorial Cards and Obituary Templates to help you create meaningful tributes.
Choose the “color” or “full color” setting, even for black-and-white photos. This captures subtle tones and texture that can enhance the final print, particularly if your funeral program or memorial card will be printed on high-quality paper. Select the option to save files as TIFF or PNG for best preservation—these formats avoid the compression that can create blurry or pixelated images. However, high-quality JPEGs can also be acceptable if disk space is limited.
Carefully place each photo face-down on the scanner glass, aligning it with the edges to keep it straight. Close the scanner lid gently, avoiding pressure that might crack or bend delicate originals. After scanning, review the image on your computer at full size. Check for clarity, color accuracy, and any dust or marks that may have appeared during the process.
If your scanner software offers automatic color correction or dust removal, use these features sparingly—sometimes, they can over-correct and remove important details. It’s often safer to keep the original scan as-is and make gentle adjustments later. Save each file with a clear, descriptive name, such as “Grandma_Smith_Graduation_1948,” to make organizing and uploading to DisciplePress or your chosen designer easier.
Editing and Restoring Scanned Photos: Gentle Touches for Timeless Memories
After you scan old photos for a funeral program, some images may need a bit of gentle retouching before they’re ready for print. Simple editing software—such as built-in tools on your computer, or free programs like GIMP or Paint.NET—can help fix minor issues like red-eye, faded colors, or small scratches. Begin by adjusting the brightness and contrast to restore life to washed-out or dark images.
For photos with dust, scratches, or stains, use the “healing brush” or “clone” tool to carefully clean up the imperfections. Be careful not to over-edit; sometimes, the charm of an old photo lies in its authentic wear and tear. If possible, keep a copy of the original scan, so you can always return to it if needed. For larger restoration projects—such as repairing torn corners or severe fading—consider reaching out to DisciplePress for custom design services. Our team can professionally restore images while maintaining their original warmth and character.
When preparing images for print, resizing is important. Avoid enlarging small photos beyond their original size, as this can create a blurry, pixelated look in your funeral program or memorial card. If you need to include a small image, consider placing it within a decorative frame or alongside a favorite quote from the Bible Verses Collection or Funeral Poems Collection, allowing it to shine without compromising quality.
Finally, save your edited photos in a high-resolution format (such as TIFF or high-quality JPEG) and organize them in a dedicated folder. This makes it easy to upload your images when ordering through DisciplePress, whether you’re creating a single memorial bookmark or a detailed 16-page program. Taking these extra steps ensures that every image truly honors your loved one’s memory.
Uploading and Incorporating Photos into Funeral Program Designs
Once your photos are scanned and edited, you’ll need to incorporate them into your chosen funeral program format. DisciplePress offers a variety of options—bi-fold programs, tri-fold programs, 8-page, 12-page, 16-page, and even 20-page booklets—each with different layouts and space for photographs. Take a moment to review your images and decide which best fit each section of your program.
When uploading to DisciplePress, follow the recommended file types and sizes listed in our order guidelines. High-resolution images will ensure your final print is crisp and beautiful. If you’re unsure about placement or sizing, our custom design services can help you create a layout that highlights each photo meaningfully, ensuring that portraits, group shots, or candid moments are all showcased with care.
For smaller keepsakes like prayer cards, memorial cards, or bookmarks, select images that are clear and well-composed, focusing on faces or meaningful settings. Consider pairing each image with a comforting Bible verse, a short quote, or a line from our Funeral Poems Collection. This personal touch transforms each card into a heartfelt memento for family and friends to treasure.
If you encounter technical difficulties or have questions about the ordering process, don’t hesitate to reach out to our team. We understand that time is often of the essence, and we offer rush orders and same-day printing for families needing quick turnaround. Our goal is to make this process as smooth and comforting as possible, so you can focus on honoring your loved one’s life.
Practical Tips to Avoid Common Scanning Mistakes
Even with the best intentions, it’s easy to encounter issues when you scan old photos for a funeral program. One common mistake is scanning at too low a resolution, which can result in blurry or pixelated prints. Always double-check your scanner settings and review a test scan at full size before proceeding with your entire batch. It’s better to scan at a higher resolution and reduce the image size later if needed.
Another frequent issue involves cropping or cutting off important details. When scanning, leave a small border around each photo instead of aligning it tightly to the scanner glass. This gives you flexibility when cropping or placing images in your funeral program layout, especially for custom sizes like 8-page or 12-page booklets.
Pay attention to dust and fingerprints on both the photo and scanner glass. Even tiny particles can create distracting marks, especially on dark backgrounds. Regularly clean your scanner with a soft cloth and keep photos in a clean, dry environment while working. If you notice repeated streaks or spots in your scans, check the scanner glass for smudges or debris.
Finally, avoid scanning photos through protective sleeves or glass frames; reflections and glare can significantly reduce image quality. If you’re uncomfortable removing a photo from a frame or album, consider taking it to a professional service or asking DisciplePress about custom solutions. Our team is always here to support you with gentle, respectful care during this sensitive time.
Preserving Digital Files and Originals: Safeguarding Memories for the Future
After scanning, it’s crucial to preserve both your digital files and the original photographs. Create multiple digital backups—on your computer, an external hard drive, or a secure cloud storage service. This protects against accidental loss, especially when you’re sharing images with family, friends, or funeral program designers. Label each file clearly with names, dates, and occasions to keep your memories organized.
Store your original photos in acid-free envelopes or archival boxes, away from direct sunlight, moisture, and extreme temperatures. If you’ve handled fragile or antique photos, consider consulting a professional archivist or restoration specialist for long-term care tips. Preserving these originals ensures that future generations can continue to cherish the family legacy.
Sharing digital copies with relatives can foster connection and healing, especially for those unable to attend the funeral or memorial service in person. Consider creating a shared online folder or inviting loved ones to contribute their own photographs for a more complete tribute. This collaborative approach often leads to new stories and memories, deepening the bond between family members.
When ordering from DisciplePress, keep your scanned files accessible in case you wish to create additional keepsakes, such as memorial bookmarks, prayer cards, or a memorial slideshow. Our team is always happy to help you design new tributes or update existing programs, ensuring that every precious memory is honored and preserved with care.
Related Articles
Conclusion: Compassionate Support for Every Step of the Journey
Digitizing and preserving your loved one’s photographs is both a technical and an emotional journey. When you scan old photos for a funeral program, you’re not just creating a beautiful printed tribute—you’re weaving together the threads of a life well-lived, ensuring every cherished moment is remembered and celebrated. We hope this step-by-step guide has given you practical tools, gentle encouragement, and the confidence to honor your loved one’s memory with dignity.
As you move forward, know that the DisciplePress team is here for you. Whether you’re selecting a bi-fold funeral program, designing a custom 16-page booklet, or creating a heartfelt prayer card, we offer an array of options and services—including custom design, rush orders, and same-day printing—to support your family’s unique needs. If you have questions or need guidance, please don’t hesitate to contact us.
Remember, there is no right or wrong way to celebrate a life. Each scanned photo, each carefully chosen word, and each memorial card or bookmark is a testament to love that endures beyond loss. If you would like inspiration for layouts or wording, explore our Design Gallery, Obituary Templates, or reach out for personalized support. Our compassionate team is ready to help you create a tribute as unique as your loved one.
May these steps bring you comfort, clarity, and a sense of peace as you honor your loved one’s legacy. You are not alone in this journey. We at DisciplePress are honored to help you preserve these precious memories for generations to come.
Learn more about DisciplePress and our commitment to serving families. Browse our design gallery for inspiration. For personalized assistance, please contact us.