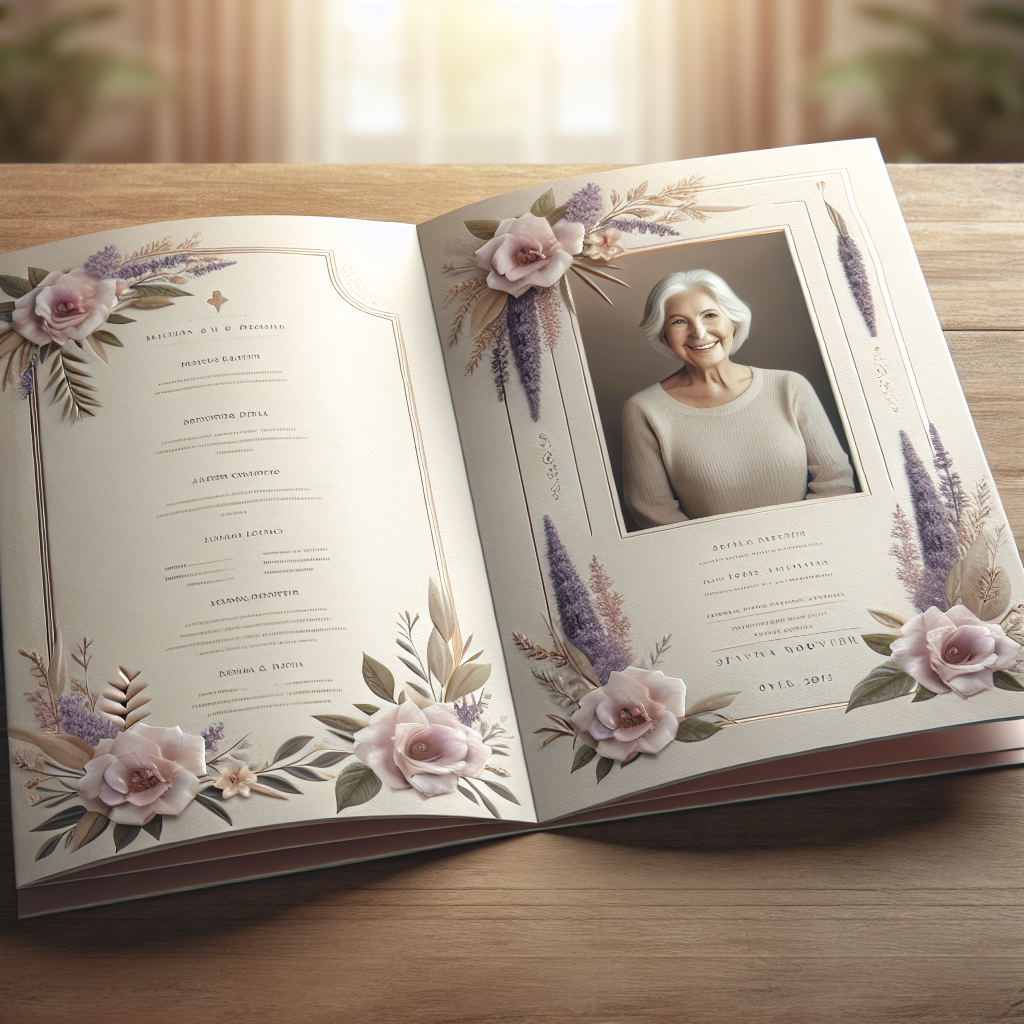
Creating a funeral program is not just about printing a document; it serves a significant purpose in commemorating the life of a loved one. A funeral program acts as a guide for attendees, outlining the order of events during the service. This is crucial for ensuring that family and friends can follow along and participate meaningfully. Additionally, it provides a platform for sharing personal stories, cherished memories, and important milestones of the deceased’s life.
Moreover, a well-designed funeral program can help to honor the individual’s legacy and convey their personality. Whether incorporating favorite quotes, poems, or photographs, these elements contribute to a personalized touch that attendees will appreciate. It’s also a tangible keepsake for those attending, allowing them to remember the service long after it has ended. This makes the program not only functional but also a cherished memento.
By understanding the purpose of a funeral program, you can approach the design process with a clearer vision. This will help in selecting the right content and layout that resonates with the deceased’s life and the memories they left behind. If you’re looking to create a beautiful and meaningful funeral program, order funeral & memorial prints today to ensure your tribute is both heartfelt and professionally presented.
Choosing the Right Template in Word

When it comes to creating a funeral program in Word, choosing the right template is essential for setting the tone and ensuring a polished look. Microsoft Word offers a variety of templates designed specifically for memorial services, making it easier to start the design process. These templates can save you time and effort while allowing for personalization.
To begin, open Microsoft Word and navigate to the template section. Here, you can search for terms like “funeral program” or “memorial service” to find a selection of pre-designed layouts. Look for templates that resonate with the personality of your loved one or reflect the overall theme of the service. Consider the following factors when selecting a template:
- Style and Design: Choose a template that matches the tone of the service, whether it’s formal, casual, or celebratory. The color scheme and design elements should reflect the deceased’s personality and preferences.
- Layout: Ensure the template has a clear structure that allows for easy readability. Look for sections that can accommodate photographs, biographical information, and program details.
- Customization Options: Select a template that offers flexibility for customization. You should be able to edit text, change fonts, and add images as needed without compromising the design.
Once you have found a suitable template, you can start personalizing it by adding your content, images, and any other elements that will make the program special. This step is crucial in creating a heartfelt tribute that reflects the life and legacy of the individual being honored.
Personalizing Your Funeral Program Design

Personalizing your funeral program design is an important step in creating a meaningful tribute to your loved one. This is an opportunity to celebrate their life, share cherished memories, and express the unique qualities that made them special. Here are some key elements to consider when personalizing the design:
1. Choose Meaningful Colors and Themes: Select colors and themes that reflect the personality of the deceased. For instance, if they had a favorite color or were passionate about a particular hobby, incorporate those elements into the design. This not only adds a personal touch but also creates a visual representation of their life.
2. Include Photographs: Adding photographs can bring your program to life. Choose images that capture significant moments, such as family gatherings, milestones, or candid shots that showcase their personality. Ensure the images are of high quality and appropriately sized for the program.
3. Add Special Quotes or Poems: Incorporating meaningful quotes, poems, or scriptures can provide comfort and resonate with those attending the service. Consider using quotes that reflect the deceased’s beliefs, values, or favorite sayings. This personal touch can evoke fond memories and emotions.
4. Write a Personal Biography: A brief biography can help attendees connect with the individual being honored. Share highlights from their life, such as accomplishments, passions, and anecdotes that illustrate their character. This narrative can serve as a poignant reminder of their legacy.
5. Customize the Layout: Don’t hesitate to rearrange sections or add additional pages if necessary. Ensure that the layout flows logically and is easy to read, allowing attendees to follow along during the service. A well-organized program enhances the overall experience.
By taking the time to personalize your funeral program design, you create a lasting tribute that honors the memory of your loved one and provides comfort to those who gather to remember them.
Essential Elements to Include in the Program
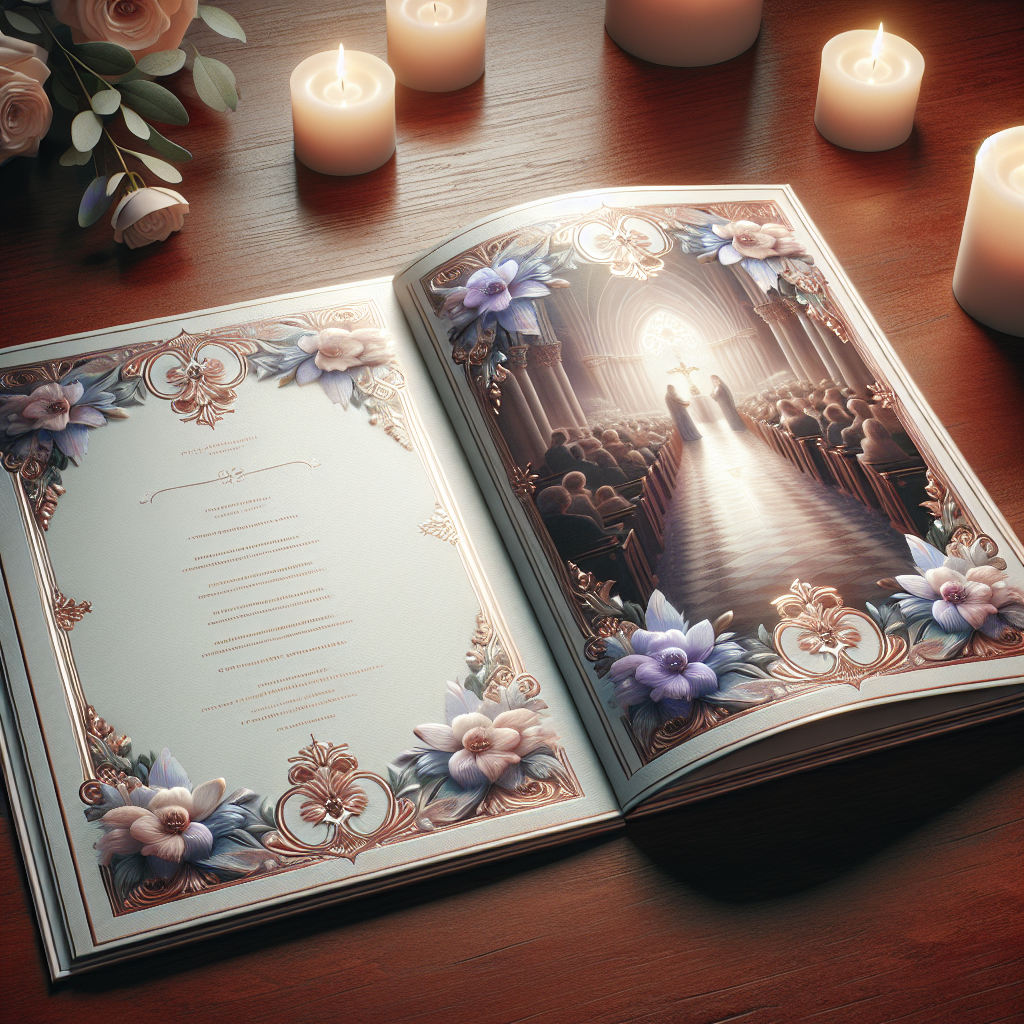
When creating a funeral program, it’s crucial to include essential elements that provide attendees with information and guide them through the service. These components not only honor the deceased but also create a respectful atmosphere for family and friends. Here are the key elements to consider:
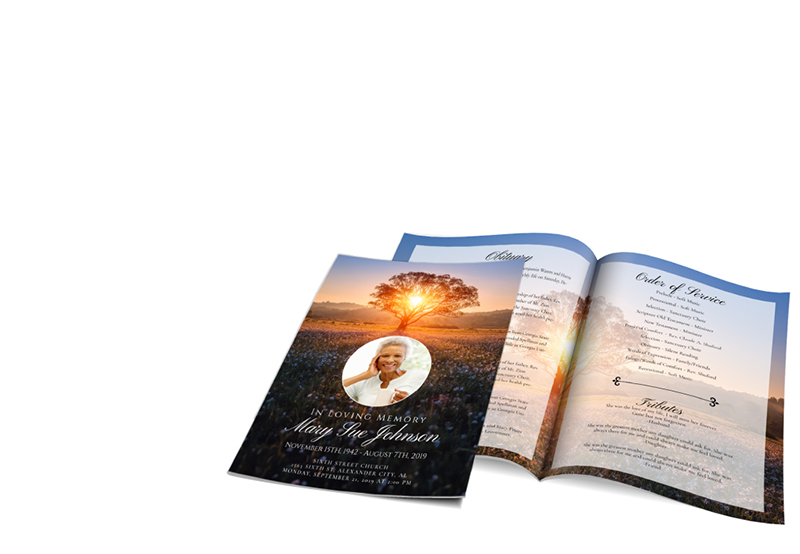
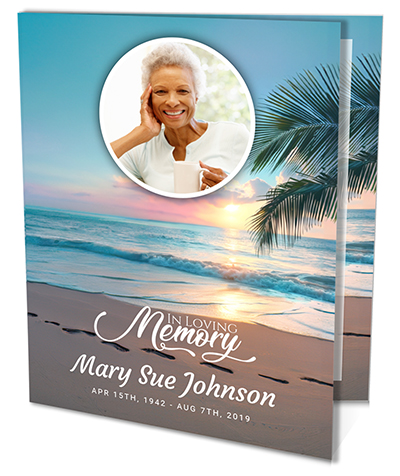
1. Cover Page: The cover page should prominently feature the name of the deceased, along with their birth and death dates. Including a meaningful photograph on the cover can set the tone for the program and serve as a visual tribute.
2. Order of Service: Clearly outline the sequence of events during the service. This section should include details such as the opening remarks, readings, musical selections, and any additional tributes or eulogies. Providing this structure helps attendees to follow along and understand what to expect.
3. Obituary: Including the obituary is a significant aspect of the program. This should provide a brief overview of the deceased’s life, including their accomplishments, interests, and surviving family members. It offers attendees a snapshot of who they are honoring.
4. Acknowledgments: A section for acknowledgments allows the family to thank those who have offered support during their time of grief. This can include expressing gratitude to attendees, special caregivers, and friends who have made a difference during this difficult time.
5. Prayer or Reflection: Consider including a prayer, poem, or a moment of silence to allow attendees to reflect on the life of the deceased. This can be a poignant way to honor their memory and invite guests to share in a collective moment of remembrance.
6. Personal Messages: If desired, you can also include a section for personal messages from family members or close friends. This can be a space for sharing touching memories or heartfelt sentiments that celebrate the deceased’s life.
By thoughtfully including these essential elements in the program, you ensure that it serves as a meaningful keepsake for attendees and a respectful tribute to the life that was lived.
Tips for Formatting and Printing Your Program

Once you have outlined the content for your funeral program, the next step is to focus on formatting and printing to ensure a polished and professional appearance. Here are some essential tips to help you achieve the best results:
1. Choose a Suitable Template: Begin by selecting a template that reflects the tone and personality of the deceased. Microsoft Word offers various templates that can be customized. Look for designs that are both elegant and easy to read, ensuring that the layout complements the content.
2. Use Readable Fonts: When it comes to fonts, opt for styles that are easy to read at a glance. Traditional serif fonts like Times New Roman or modern sans-serif fonts like Arial can work well. Maintain a consistent font size throughout the program, usually between 10-12 points for text and slightly larger for headings.
3. Organize Content Effectively: Structure the program logically, ensuring that each section flows seamlessly into the next. Use headings and subheadings to break up text, making it easier for attendees to navigate the program. Bullet points or numbered lists can help present information clearly.
4. Incorporate Visual Elements: Adding visual elements such as photos, borders, or decorative motifs can enhance the aesthetic appeal of the program. Ensure that images are of high quality and appropriately sized. Be mindful of the balance between text and images, avoiding overcrowding the pages.
5. Proofread Carefully: Before printing, thoroughly proofread the document to catch any typos or errors. It’s a good idea to have another person review the program as well, as a fresh pair of eyes may spot mistakes you may have overlooked.
6. Select Quality Paper: For printing, choose a sturdy paper stock that feels substantial; a weight of 80-100 lb is often recommended. Consider using a matte or glossy finish based on the desired look of the program. Quality paper not only enhances the visual appeal but also ensures durability.
By following these formatting and printing tips, you can create a funeral program that is both visually appealing and serves as a cherished keepsake for all who attend.
Finalizing and Distributing the Funeral Program

After crafting and formatting your funeral program, the final steps involve finalizing the document and distributing it effectively. This process is essential to ensure that your heartfelt tribute reaches all attendees and honors the memory of the deceased.
1. Final Review: Before you print multiple copies, conduct a final review of the program. Check for any last-minute changes or corrections, ensuring that all names, dates, and details are accurate. It’s beneficial to have a close family member or friend proofread the program to ensure that it reflects the wishes of the family.
2. Printing Options: Depending on the number of attendees and your budget, consider your printing options carefully. For smaller gatherings, you may opt for home printing, while larger events may require professional printing services to ensure high quality. Make sure to order additional copies for those who may not be able to attend but would still like a program as a keepsake.
3. Distribution Plan: Think about how you plan to distribute the programs. Common practices include placing them at the entrance of the venue or distributing them by ushers as guests arrive. Consider also providing digital copies for those unable to attend in person. This can be done via email or by sharing a link to a downloadable file.
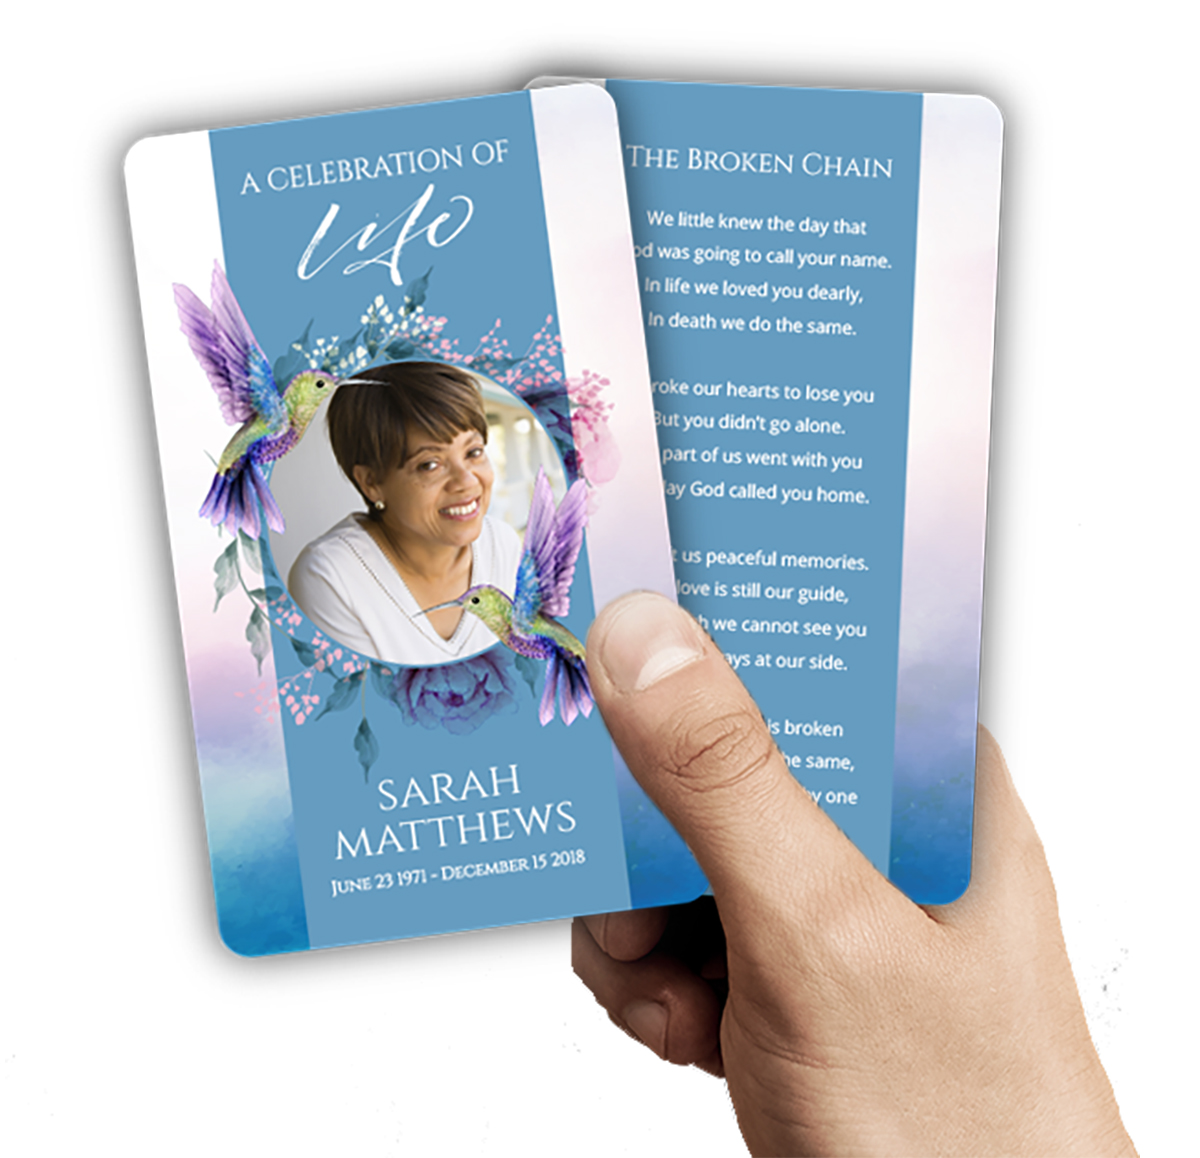
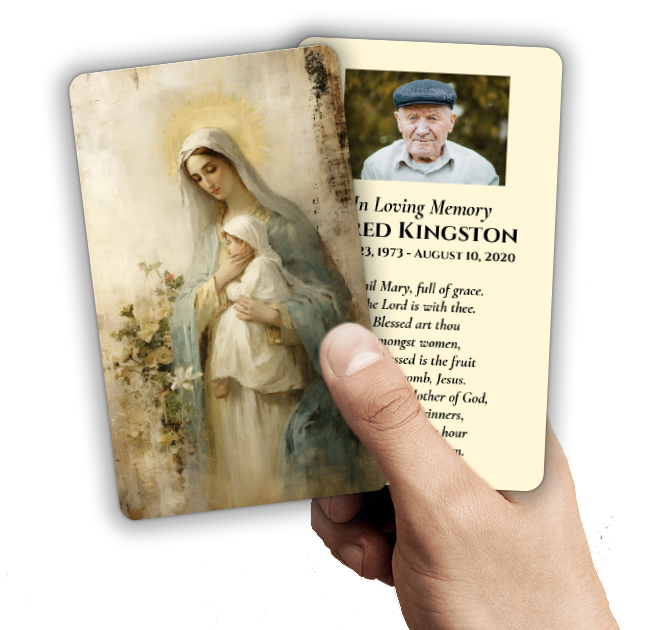
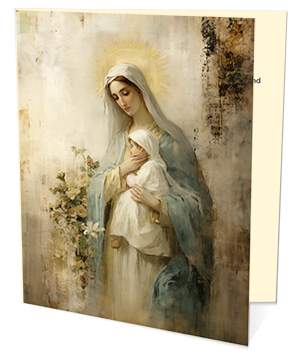
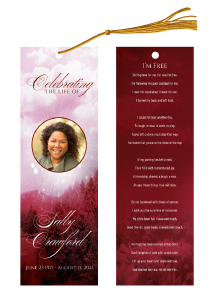
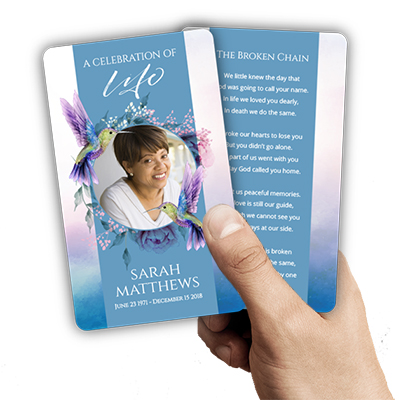
4. Memorial Keepsakes: Beyond the service, the funeral program can also serve as a memorial keepsake for attendees. You may wish to provide additional items such as memorial bookmarks or cards that guests can take home, offering them a tangible reminder of the deceased.
5. Order Funeral & Memorial Prints Today: If you’re looking to create a beautiful and memorable funeral program, consider using professional printing services. At DisciplePress, LLC, we specialize in printing high-quality funeral and memorial products to help you honor your loved one’s memory.
By following these steps to finalize and distribute the funeral program, you ensure that it serves as a meaningful tribute that resonates with all attendees.
 Free Shipping Over $50
  888-432-8363


 Obituary/Programs
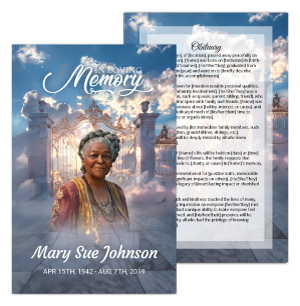 No-Fold Memorial Programs
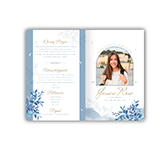 4 Page Funeral Programs
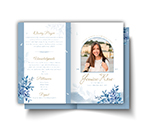 8 Page Memorial Programs
 12 Page Funeral Programs
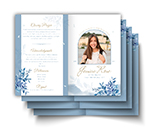 16 Page Funeral Programs
 20 Page Funeral Programs
 Tri-Fold Funeral Programs
 Complete Memorial Packages
 Cards & Bookmarks
 Saint Prayer Cards
 Folded Memorial Cards
 Folded Holy Cards
 Memorial Bookmarks
 Thank You Cards
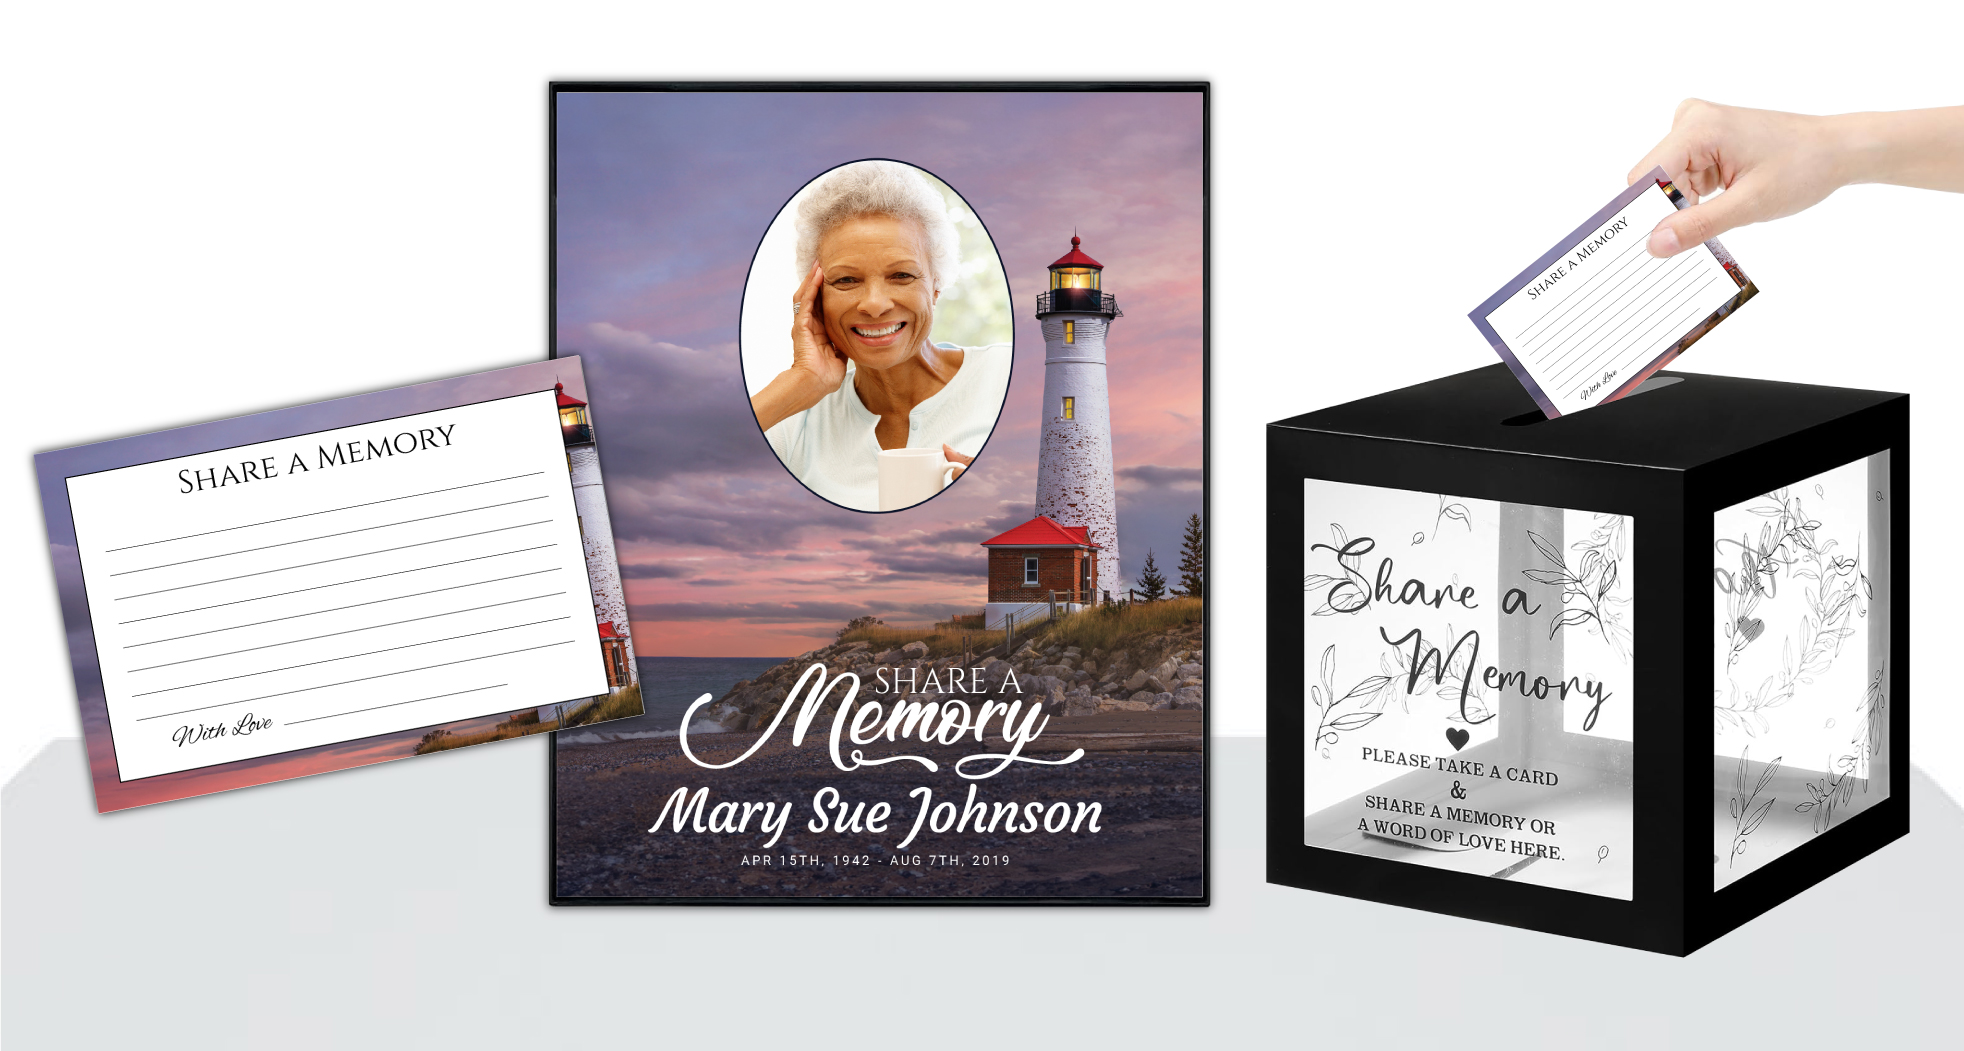 Share-A-Memory Cards
 Memorial Magnets
 Memorial Posters
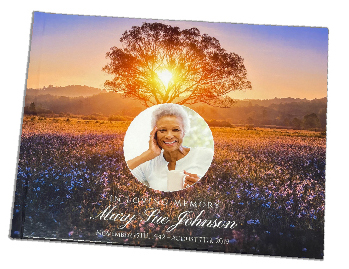 Guest Books
 Slide Shows
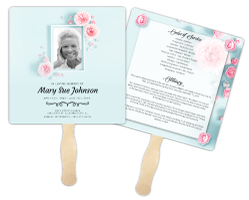 Memorial Fans
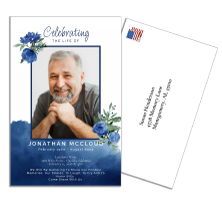 Death Announcements
 Take Away Keepsakes
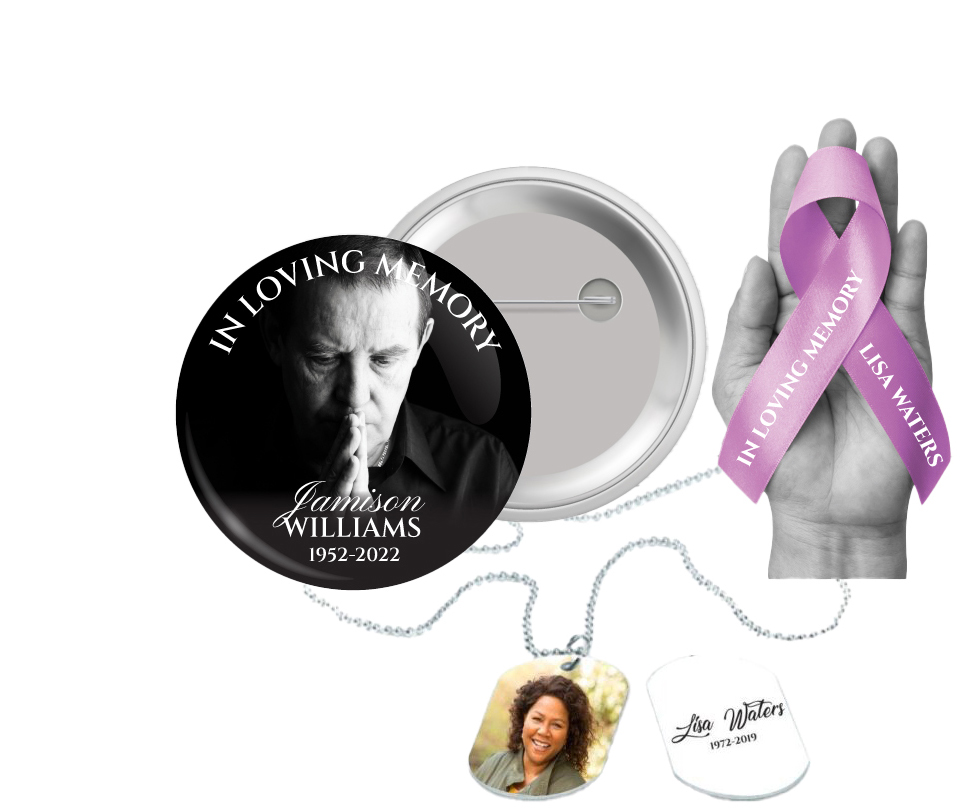
 Church Products