Free Shipping Over $50
  888-432-8363

 Obituary/Programs
 No-Fold Memorial Programs
 4 Page Funeral Programs
 8 Page Memorial Programs
 12 Page Funeral Programs
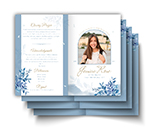 16 Page Funeral Programs
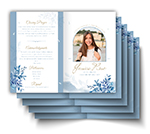 20 Page Funeral Programs
 Tri-Fold Funeral Programs
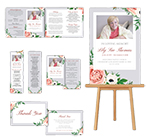 Complete Memorial Packages
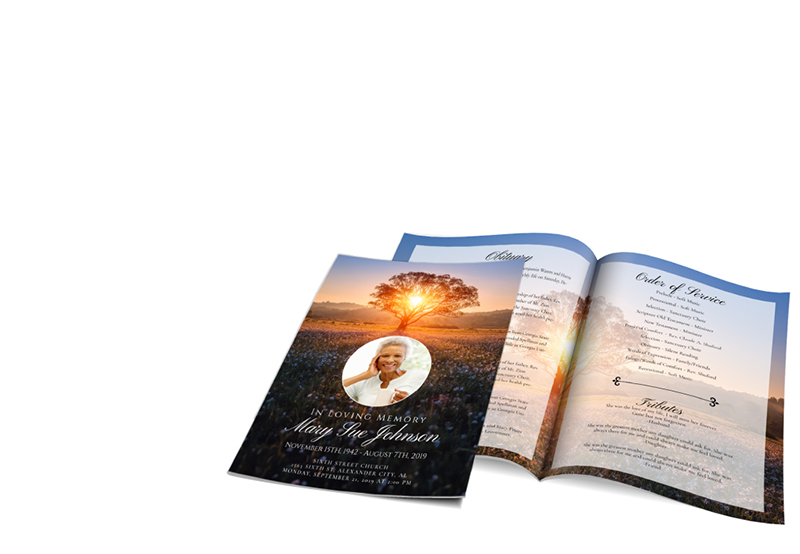
 Cards & Bookmarks
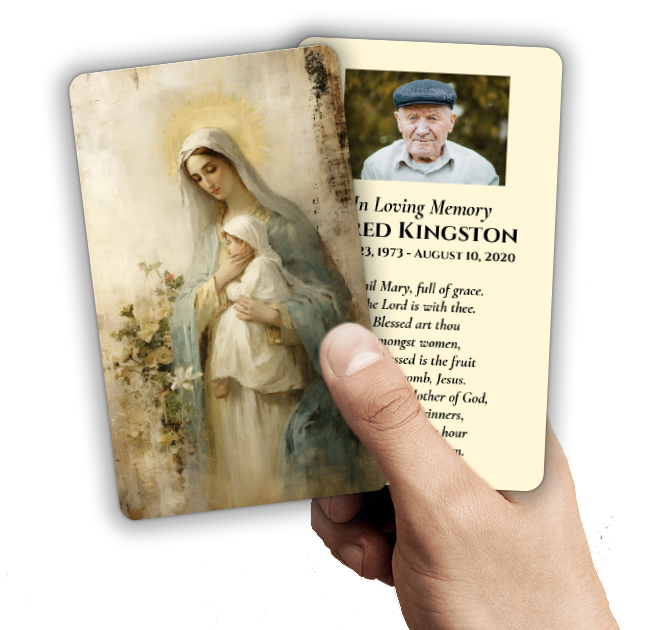 Saint Prayer Cards
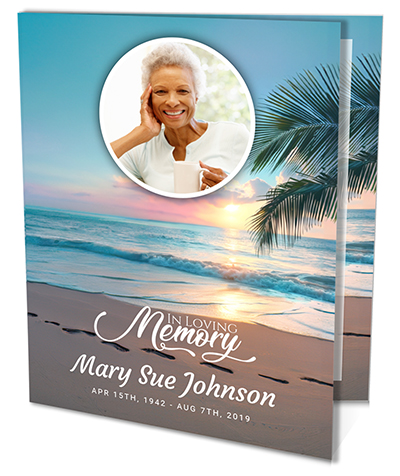 Folded Memorial Cards
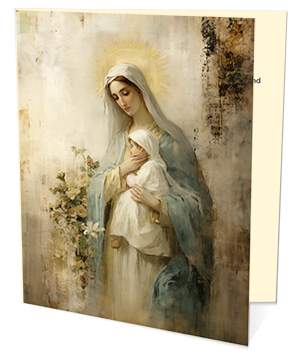 Folded Holy Cards
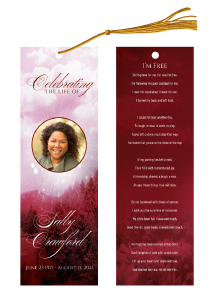 Memorial Bookmarks
 Thank You Cards
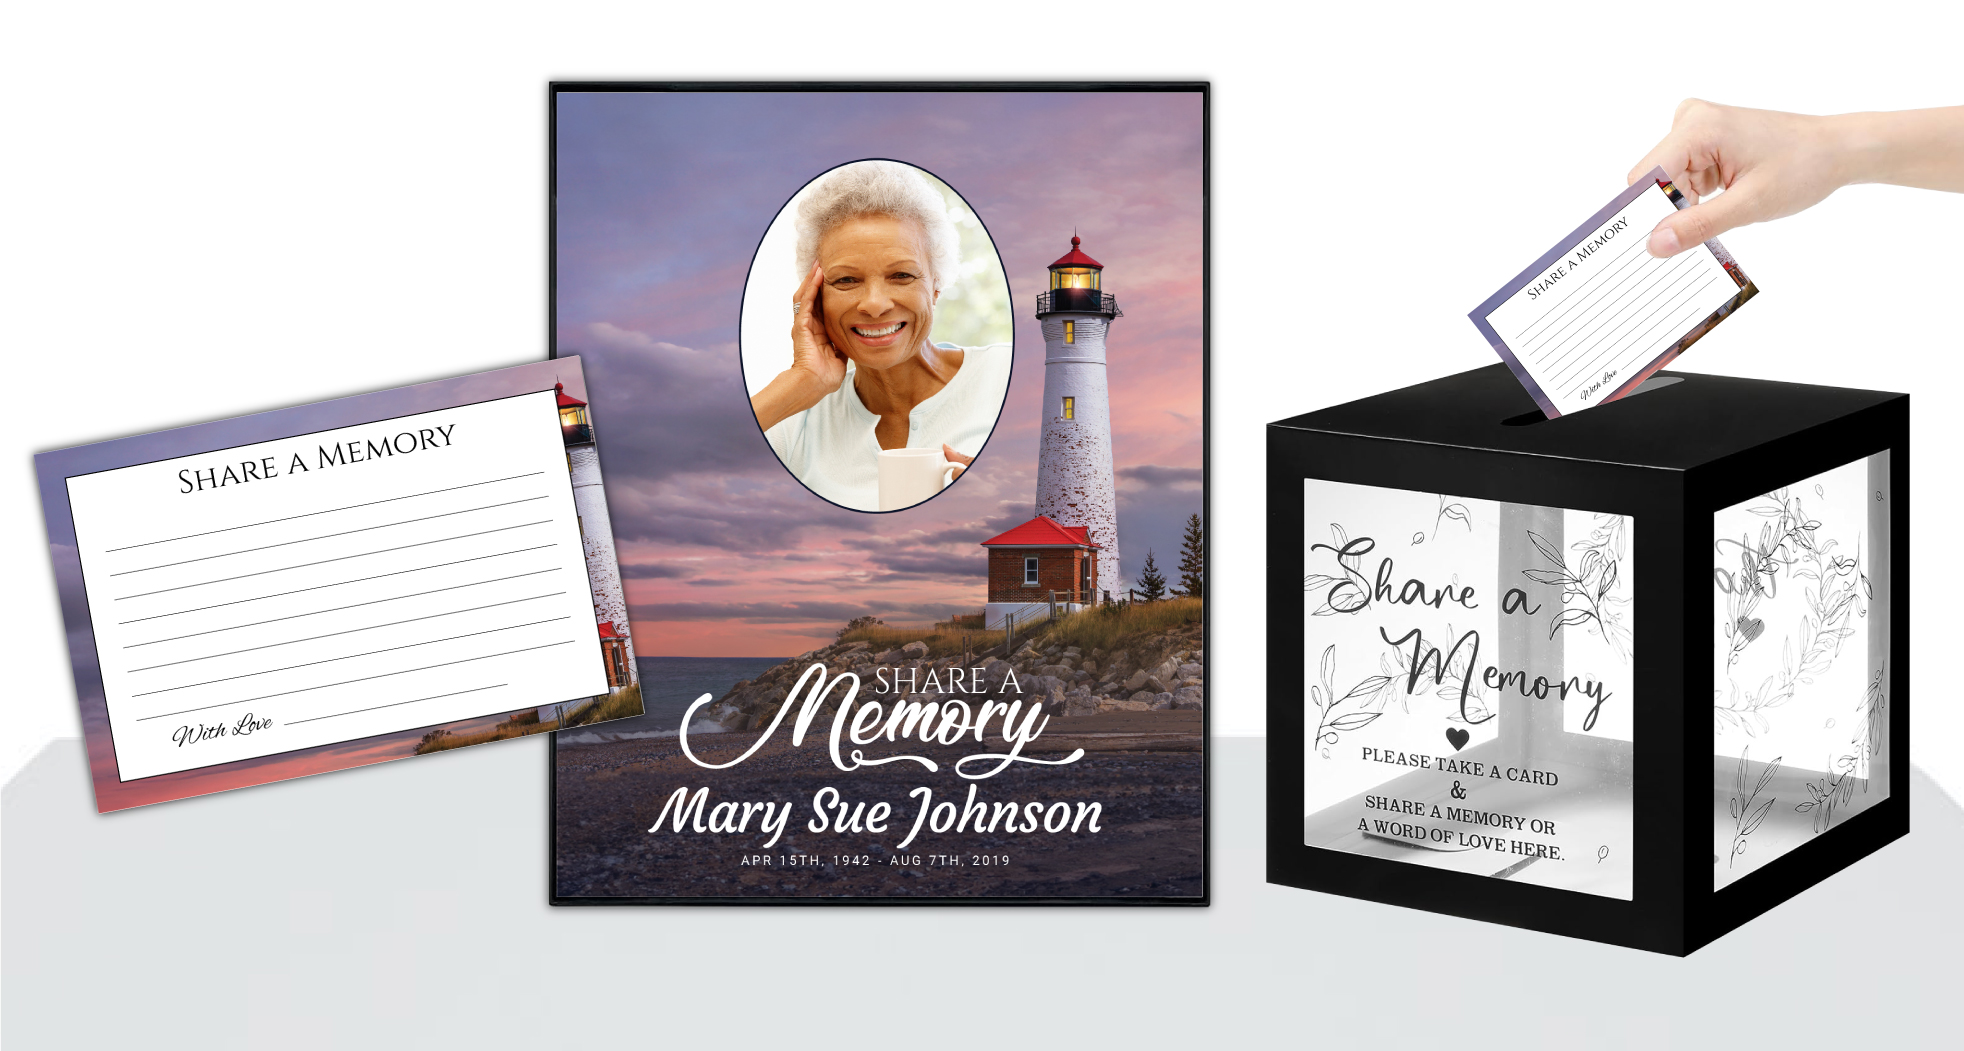 Share-A-Memory Cards
 Memorial Magnets
 Memorial Posters
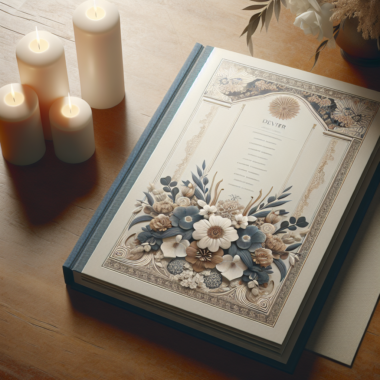
 Guest Books
 Slide Shows
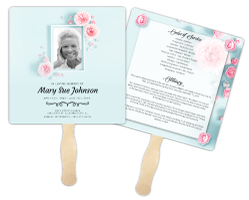 Memorial Fans
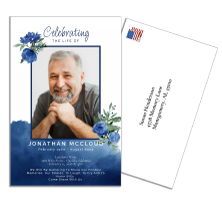 Death Announcements
 Take Away Keepsakes
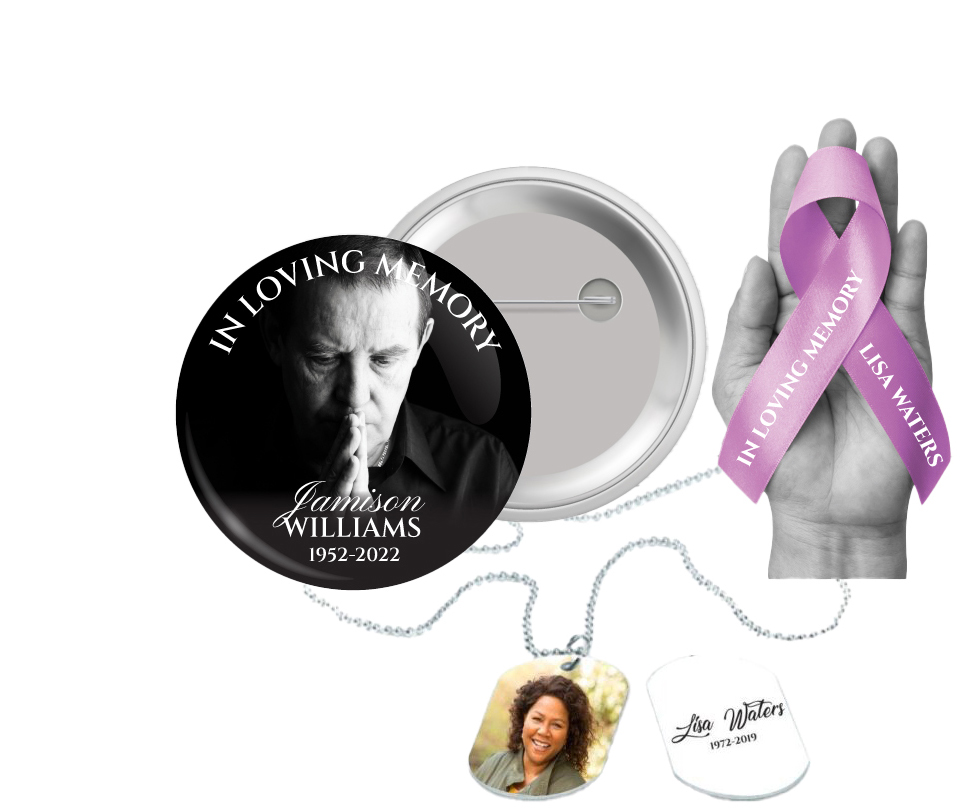
 Church Products
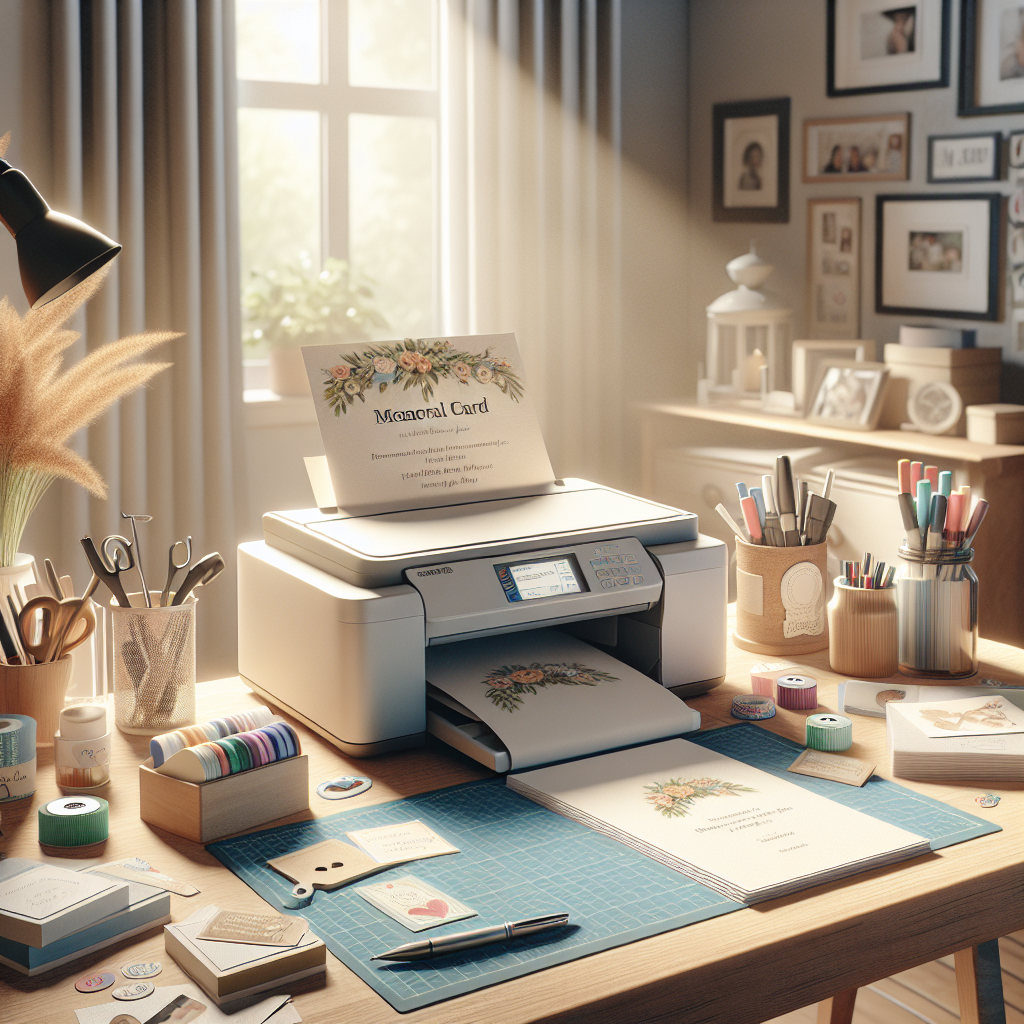
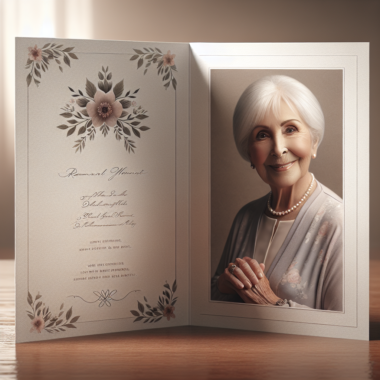
Creating memorial cards at home can be a deeply personal and fulfilling way to honor the memory of a loved one. These cards serve as a keepsake for family and friends, encapsulating cherished moments and sentiments that celebrate a life well-lived. By taking the time to design and personalize these cards, you can ensure that each one reflects the unique character and spirit of the individual being remembered.
In this guide, we will walk you through how to make memorial cards at home with ease. From selecting the right materials to adding personal touches, we aim to provide you with all the information needed to create beautiful and meaningful cards. Whether you are a seasoned DIY enthusiast or a complete beginner, our step-by-step instructions will help you craft commemorative cards that are both elegant and heartfelt.
Before diving into the process, it’s essential to gather everything you’ll need. This includes high-quality cardstock, a reliable printer, and any embellishments that you wish to add. Additionally, having a clear vision of the design and message you want to convey can make the creation process smoother and more enjoyable.
Ready to get started? Order funeral & memorial prints today from DisciplePress, LLC to ensure your memorial cards are of the highest quality and craftsmanship.
Gather Necessary Materials
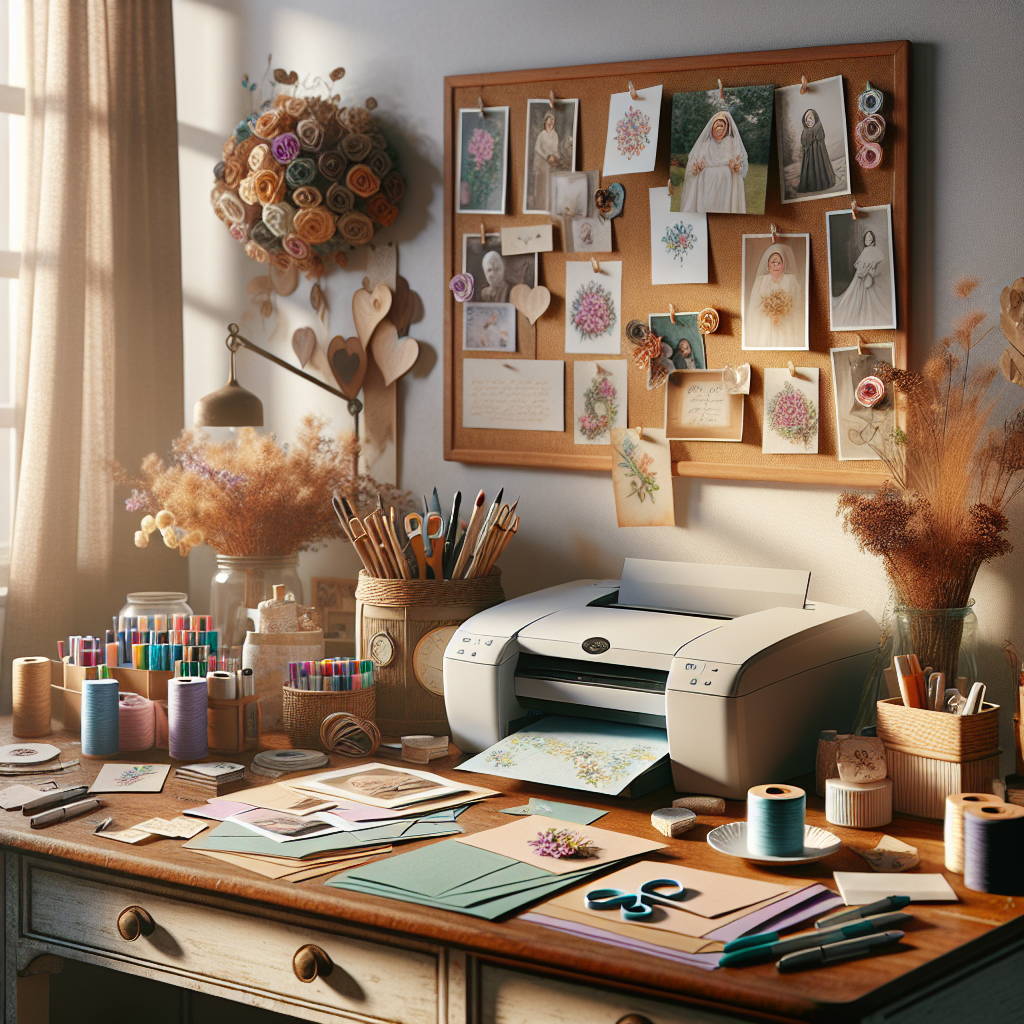
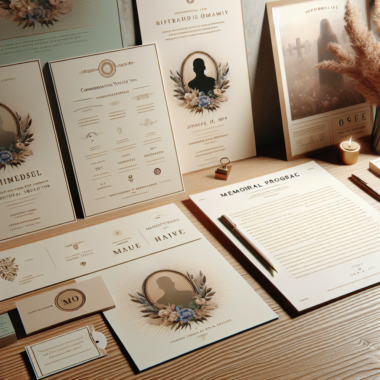
Before you begin crafting your memorial cards, it’s crucial to gather all the necessary materials. Having the right supplies on hand will make the process smoother and more efficient, allowing you to focus on the creative aspects of the project.
First and foremost, you’ll need high-quality cardstock. This serves as the foundation of your memorial card, so opting for a durable and elegant option is essential. Cardstock comes in various weights and finishes, so choose one that aligns with your desired look and feel. A heavier weight will give your cards a premium touch, while a matte or glossy finish can add a professional flair.
Next, invest in a reliable printer. While home printers are generally sufficient, ensure that your printer can handle the thickness of the cardstock. Inkjet printers are commonly used for this purpose, but laser printers can also provide excellent results. Make sure to have enough ink or toner, as printing multiple cards can quickly deplete your supplies.
You’ll also need software for designing your cards. Programs like Adobe Photoshop, Microsoft Word, or even free online tools like Canva can help you create visually appealing designs. These tools offer templates and customization options, making it easier to add personal touches such as photos, quotes, and other decorative elements.
Lastly, consider gathering some embellishments like ribbons, stickers, or stamps. These can add a unique and personal touch to your cards, making them even more special. Scissors, glue, and a ruler will also come in handy for cutting and assembling your cards.
With all these materials at your disposal, you’ll be well-equipped to start the process of making beautiful memorial cards at home.
Choose a Design Template
After gathering your materials, the next step in learning how to make memorial cards at home is to choose a design template. A well-selected template serves as the blueprint for your card, helping to structure your content and ensuring a cohesive, polished look.
Start by exploring various template options. Many design software programs like Adobe Photoshop, Microsoft Word, and Canva offer a range of templates specifically for memorial cards. You can also find templates online, both free and paid, that cater to different styles and themes.
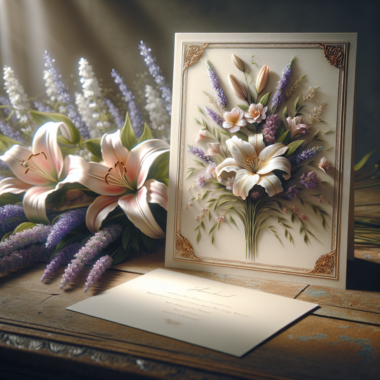
When selecting a template, consider the tone and personality you wish to convey. Some templates feature elegant, minimalist designs, while others may incorporate more intricate details and embellishments. Think about the preferences of the person being memorialized and what best captures their essence.
Customization is key to making your memorial cards unique. Most templates allow you to modify elements such as fonts, colors, and layouts. Choose fonts that are not only aesthetically pleasing but also legible. Serif fonts often exude a classic, timeless feel, while sans-serif fonts offer a modern, clean look. Color schemes should be thoughtful and appropriate; soft, muted tones often work well for memorial cards.
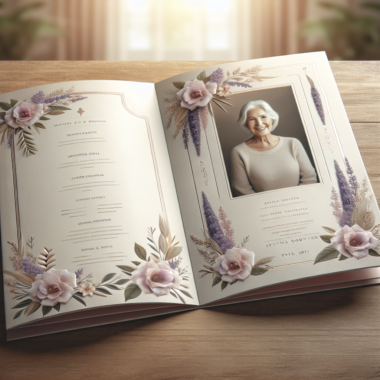
Don’t forget to consider the layout of your template. Ensure that there is ample space for all the necessary information, such as the person’s name, dates, and a brief obituary or heartfelt message. Including a photo can add a personal touch, so make sure your template accommodates this as well.
By choosing a design template that aligns with your vision and customizing it to reflect the individuality of your loved one, you set the stage for creating a memorable and heartfelt tribute.
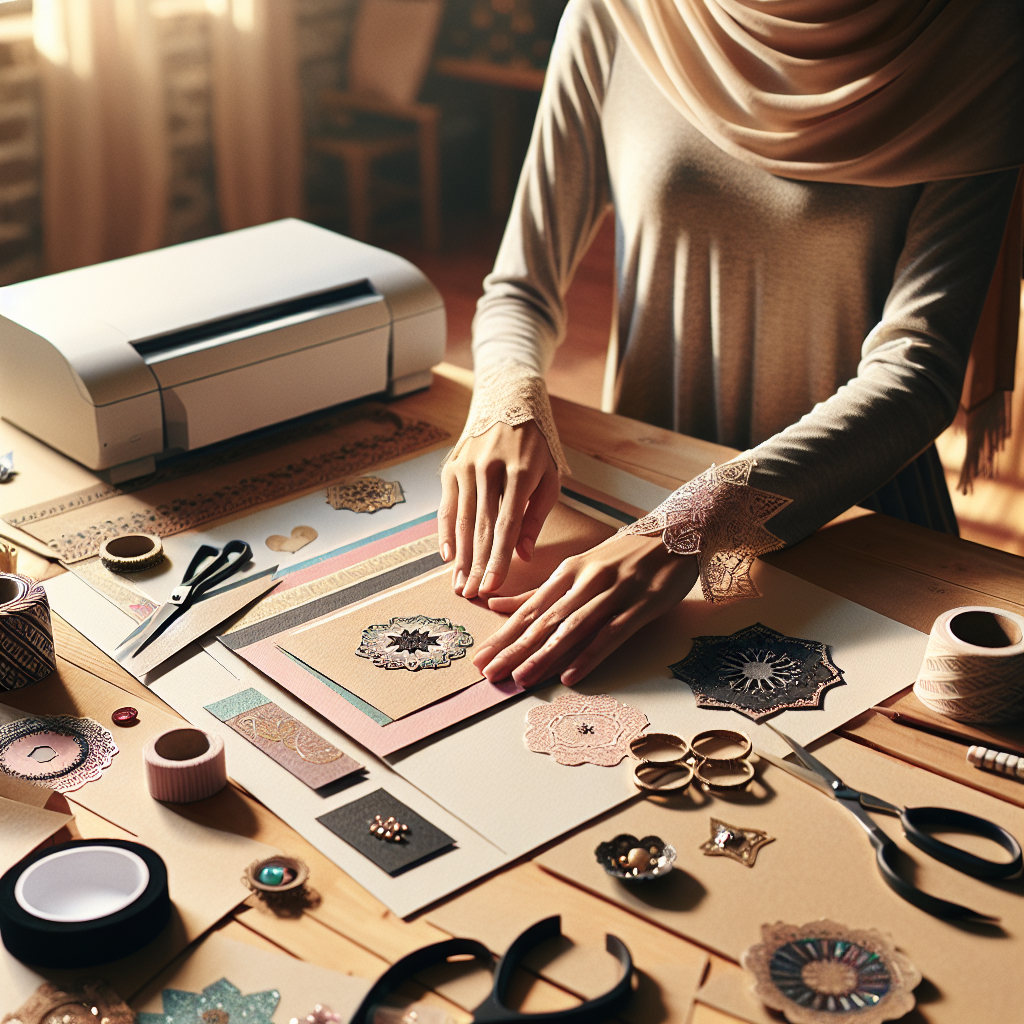
Personalize Your Memorial Card

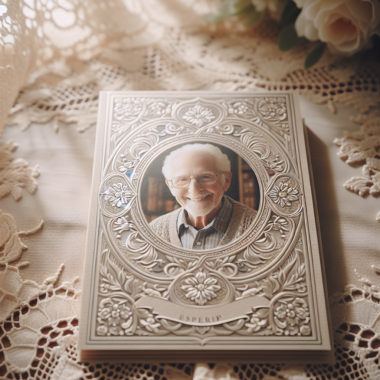
Once you have chosen a design template, the next step is to personalize your memorial card. Personalization is what transforms a simple card into a cherished keepsake, filled with unique touches that celebrate the life of your loved one.
Start by adding the essential details. This typically includes the full name of the deceased, their birth and death dates, and a brief obituary or eulogy. These elements provide a formal and respectful acknowledgment of their life and passing.
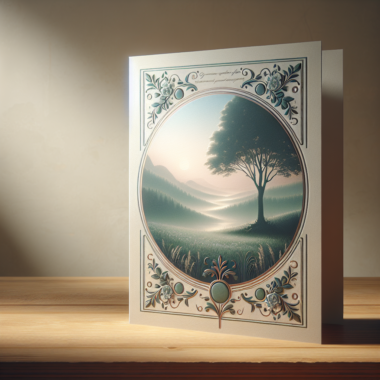
Next, consider incorporating a favorite quote or scripture that resonates with the memory of your loved one. Whether it’s a line from a beloved poem, a verse from the Bible, or a saying they often used, these words can add a deeply personal touch. Make sure to choose something that reflects their personality and beliefs.
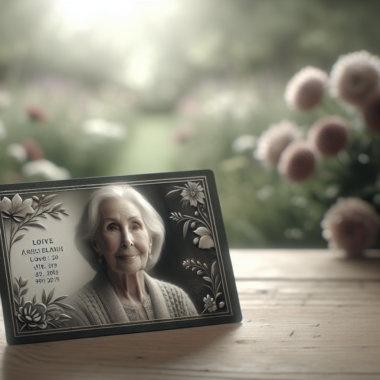
Adding a photograph is another meaningful way to personalize your memorial card. Select a photo that captures the essence of their character, perhaps from a happy moment or a significant time in their life. Ensure the photo is of high quality and fits well within your chosen template’s layout.
For an even more personalized touch, you can include artwork, symbols, or icons that were significant to the deceased. For example, if they loved gardening, you might add a small floral design. If they were a music enthusiast, a musical note could be a fitting embellishment.
Don’t forget about the background and color scheme. You can customize these elements to reflect the individual’s favorite colors or to match the theme of the memorial service. Subtle, soft colors often work well, but feel free to choose a palette that best represents your loved one.
Finally, consider adding a personal message or note from the family. This could be a few sentences expressing gratitude to those who attend the memorial service or share a special memory. This small addition can make the card feel even more heartfelt and intimate.
By taking the time to personalize your memorial card, you create a lasting tribute that honors the unique life and legacy of your loved one.
Print and Assemble the Cards

After personalizing your memorial cards, the next step is to print and assemble them. This process can be straightforward and rewarding, allowing you to see your heartfelt efforts come to life.
Choosing the right paper is crucial for achieving a professional look. Opt for high-quality cardstock, which is thicker and more durable than regular printer paper. Cardstock comes in various finishes such as matte, glossy, or textured. Your choice will depend on the look and feel you desire. Matte finishes provide a classic and elegant look, while glossy finishes can make photos pop with vibrant colors.
Before printing, ensure your printer settings are adjusted to accommodate the cardstock. Select the highest quality print setting and choose the correct paper type in your printer’s settings menu. This helps ensure that the colors and details come out crisp and clear.
It’s wise to print a single test card first to check for any alignment issues or color discrepancies. Review the test card carefully, paying attention to margins, text readability, and image quality. Make any necessary adjustments to your design or printer settings before proceeding with the full batch.
Once you are satisfied with the test print, proceed to print the remaining cards. If you have a large number of cards to print, be prepared to take breaks to avoid overloading your printer and to ensure consistent quality.
After printing, the next step is to assemble the cards. If your design includes any folding, use a bone folder or a similar tool to create clean, sharp folds. For cards that require cutting, a paper trimmer or a pair of sharp scissors will help you achieve precise edges.
If you are adding any embellishments such as ribbons or stickers, now is the time to do so. Make sure each card is assembled with care, reflecting the love and respect you have for your loved one.
By carefully printing and assembling your memorial cards, you ensure that each one is a fitting tribute, ready to be shared with family and friends as a tangible reminder of the cherished memories.
Final Touches and Distribution

With your memorial cards printed and assembled, the final step is to add those special touches that make each card unique and meaningful. Final touches can range from adding a personal handwritten note to including a small photograph or a piece of memorabilia.
Consider using a gold or silver pen to write the names or a short message on each card. This adds a personal and elegant touch. You might also attach a small decorative element like a pressed flower or a ribbon that complements the theme of the card.
Once you are satisfied with the final touches, it’s time to plan the distribution of the memorial cards. Depending on the size of your gathering and the number of cards, you have several options:
- Hand them out at the service: Distribute the cards to attendees as they arrive or place them on seats before the service begins.
- Mail them: For those who cannot attend, mailing the cards ensures that everyone has a keepsake to remember your loved one. Use protective envelopes to prevent any damage during transit.
- Include them in thank you notes: After the service, send out thank you notes with a memorial card enclosed to express your gratitude for their support.
Taking time with these final steps ensures that your memorial cards are not only beautiful but also deeply meaningful to those who receive them.
If you prefer professional assistance with printing and assembling your memorial cards, consider using a specialized service. Order funeral & memorial prints today from DisciplePress, LLC, and let us help you create lasting tributes with ease and precision.